Having just come off a long holiday break, we can attest to the fact that sometimes a little refresher is helpful to keep our kids’ skills sharpened up. This vacation, we decided to make a simple reusable wipe-clean booklet to help our kids practice their multiplication skills while school was out (and any other time they need practice, too!). We thought we’d share our process here so your children and students can benefit from this quick-to-make tool, too. This is perfect for classrooms, too, as the booklets can be cleaned and reused with multiple students and over multiple years. Obviously, you can use this method with nearly any thing that needs practice: letter formation, other math facts, the periodic table—you dream it, you can make it!
Step 1: Print off the pages that you want use in your booklet.
There are all kinds of free worksheets available online, or you can use worksheets you already have, or make your own. The possibilities are endless!

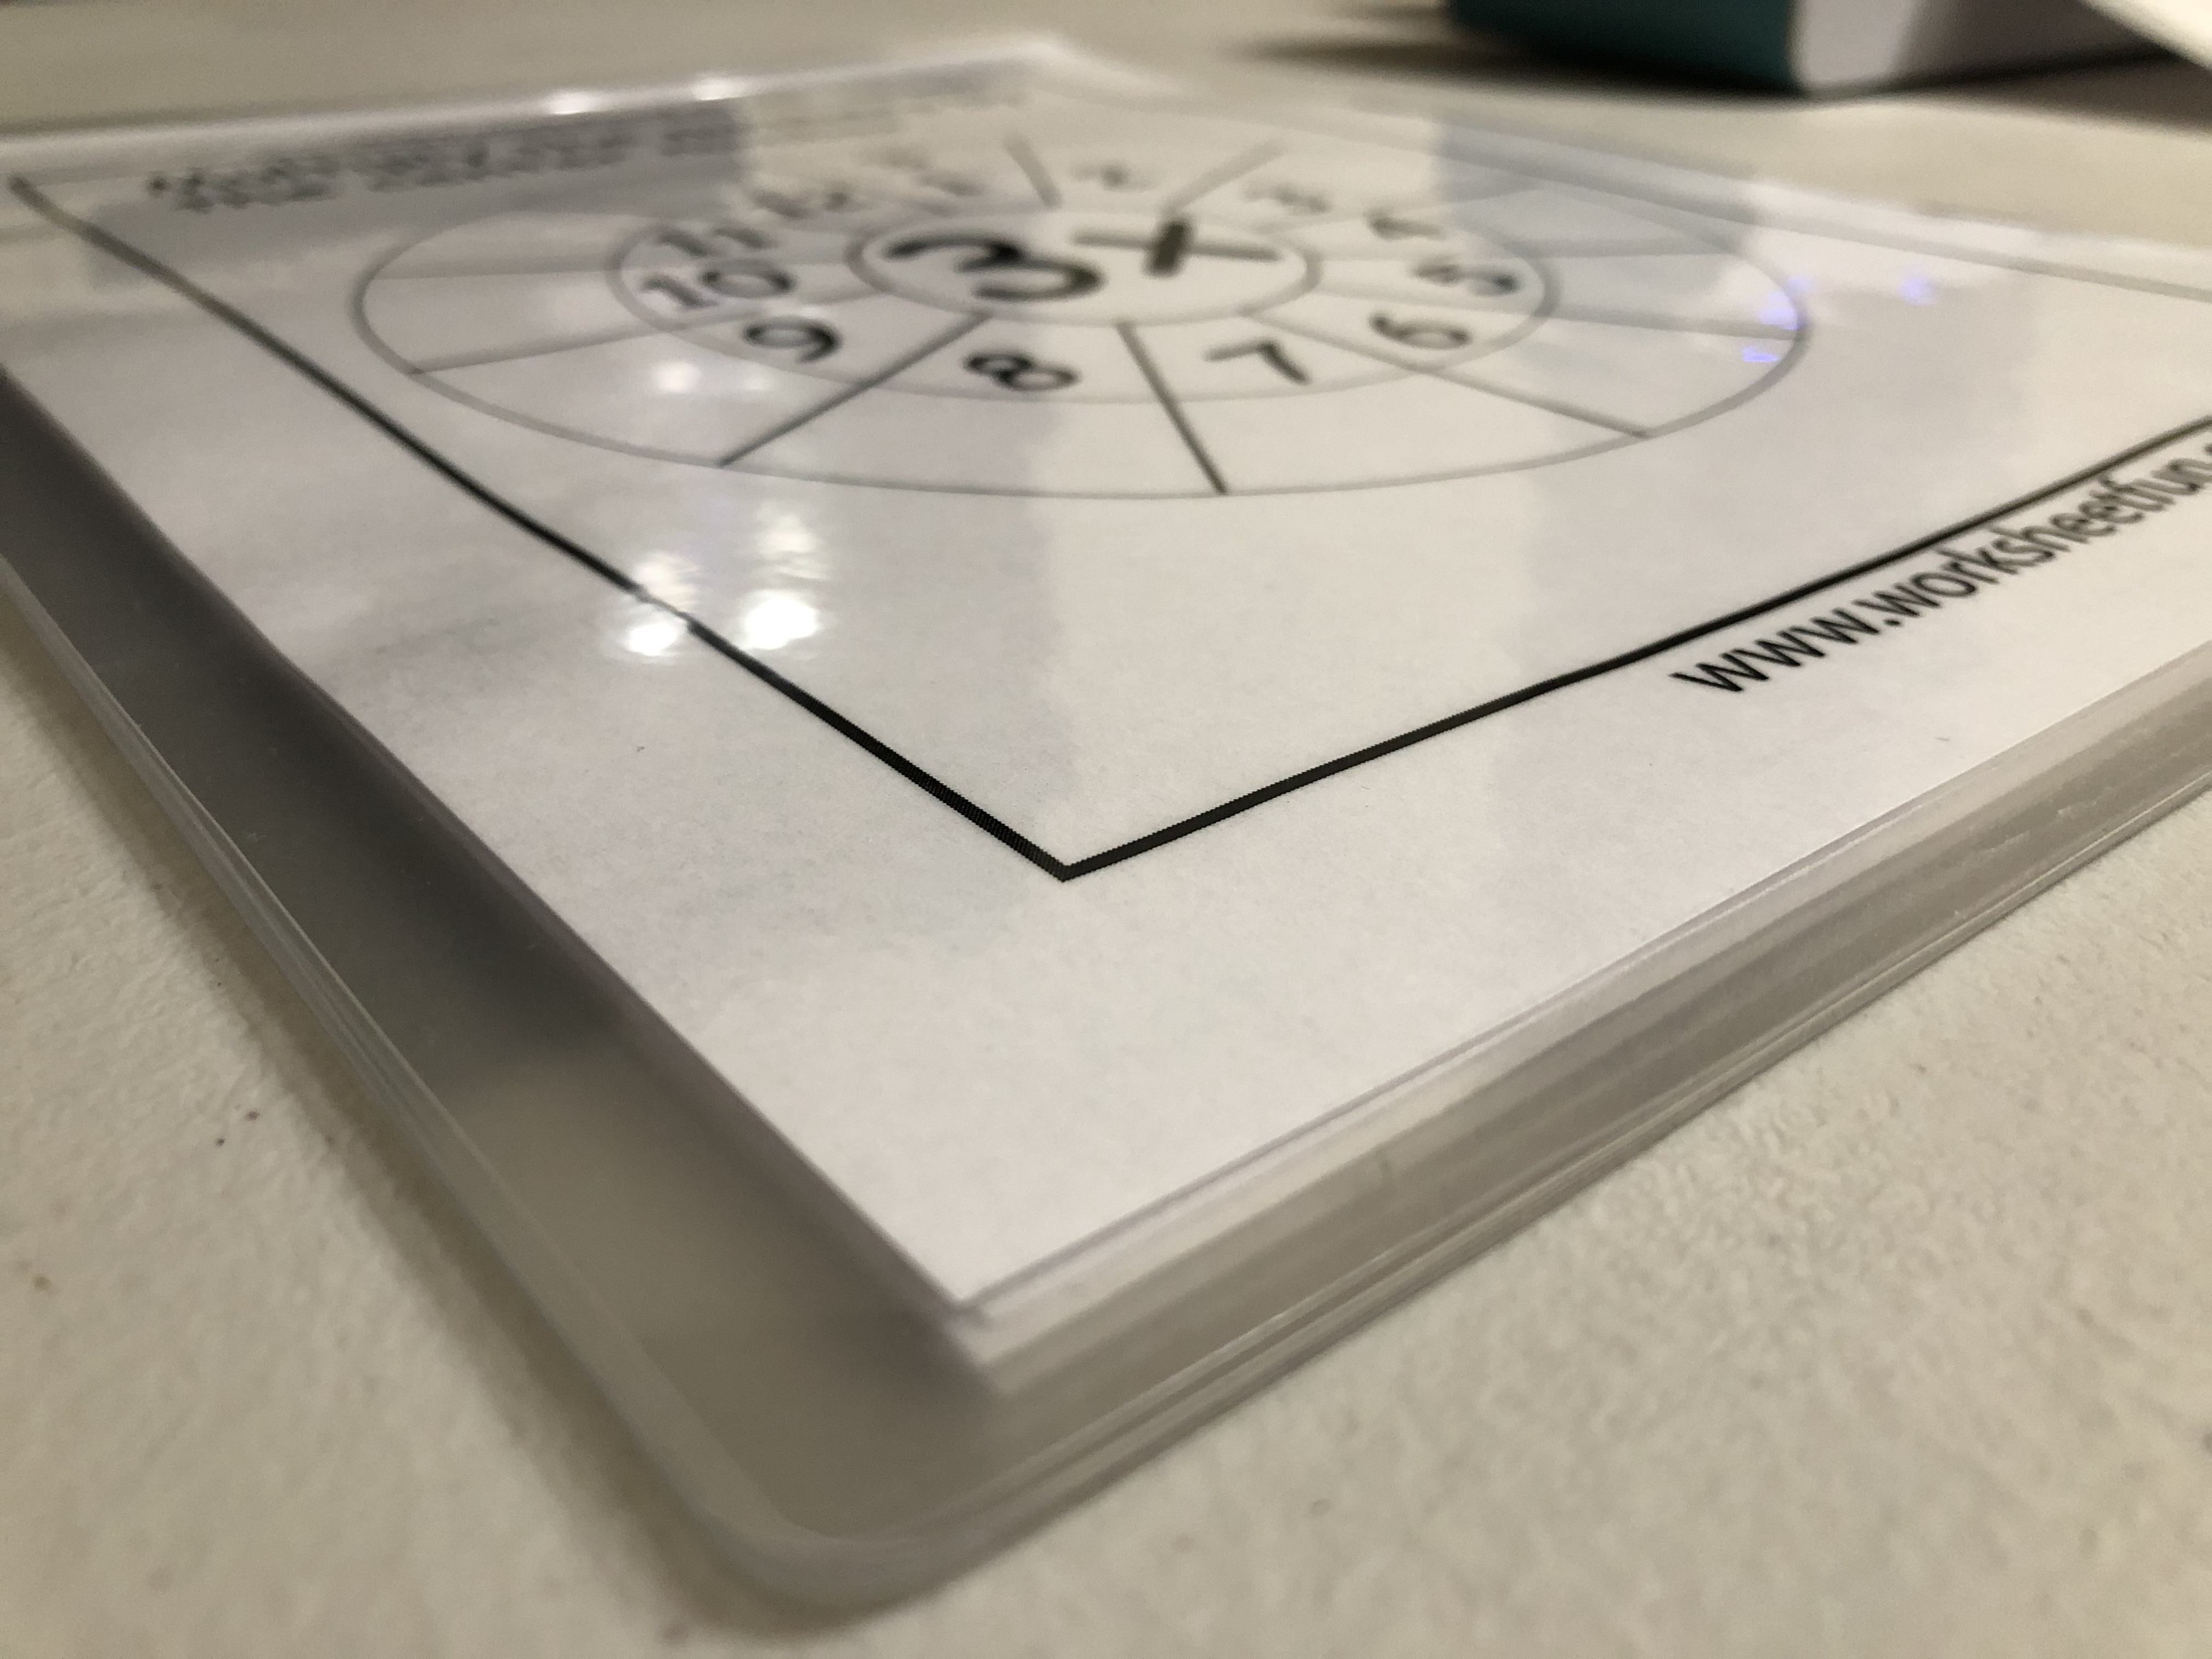
Step 2: Laminate the worksheets.
We prefer pouches for this project, but it’ll work great with regular roll laminators, too—you’ll just need to do a little extra trimming around the pages. Make sure that when you laminate, you leave ample border around the page edges. We like to leave a little extra border on the left side so that when we get to step 4, we’re not introducing areas in which moisture can get to our worksheets.
Step 3: Select a cover.
We really like the poly covers (made from polyethylene plastic). They are tear resistant, waterproof (like the rest of your book pages), and just overall durable. However, on our sample project, we used a simple vinyl cover. Regardless, adding a cover—any cover—to your booklet will add years of longevity to it.
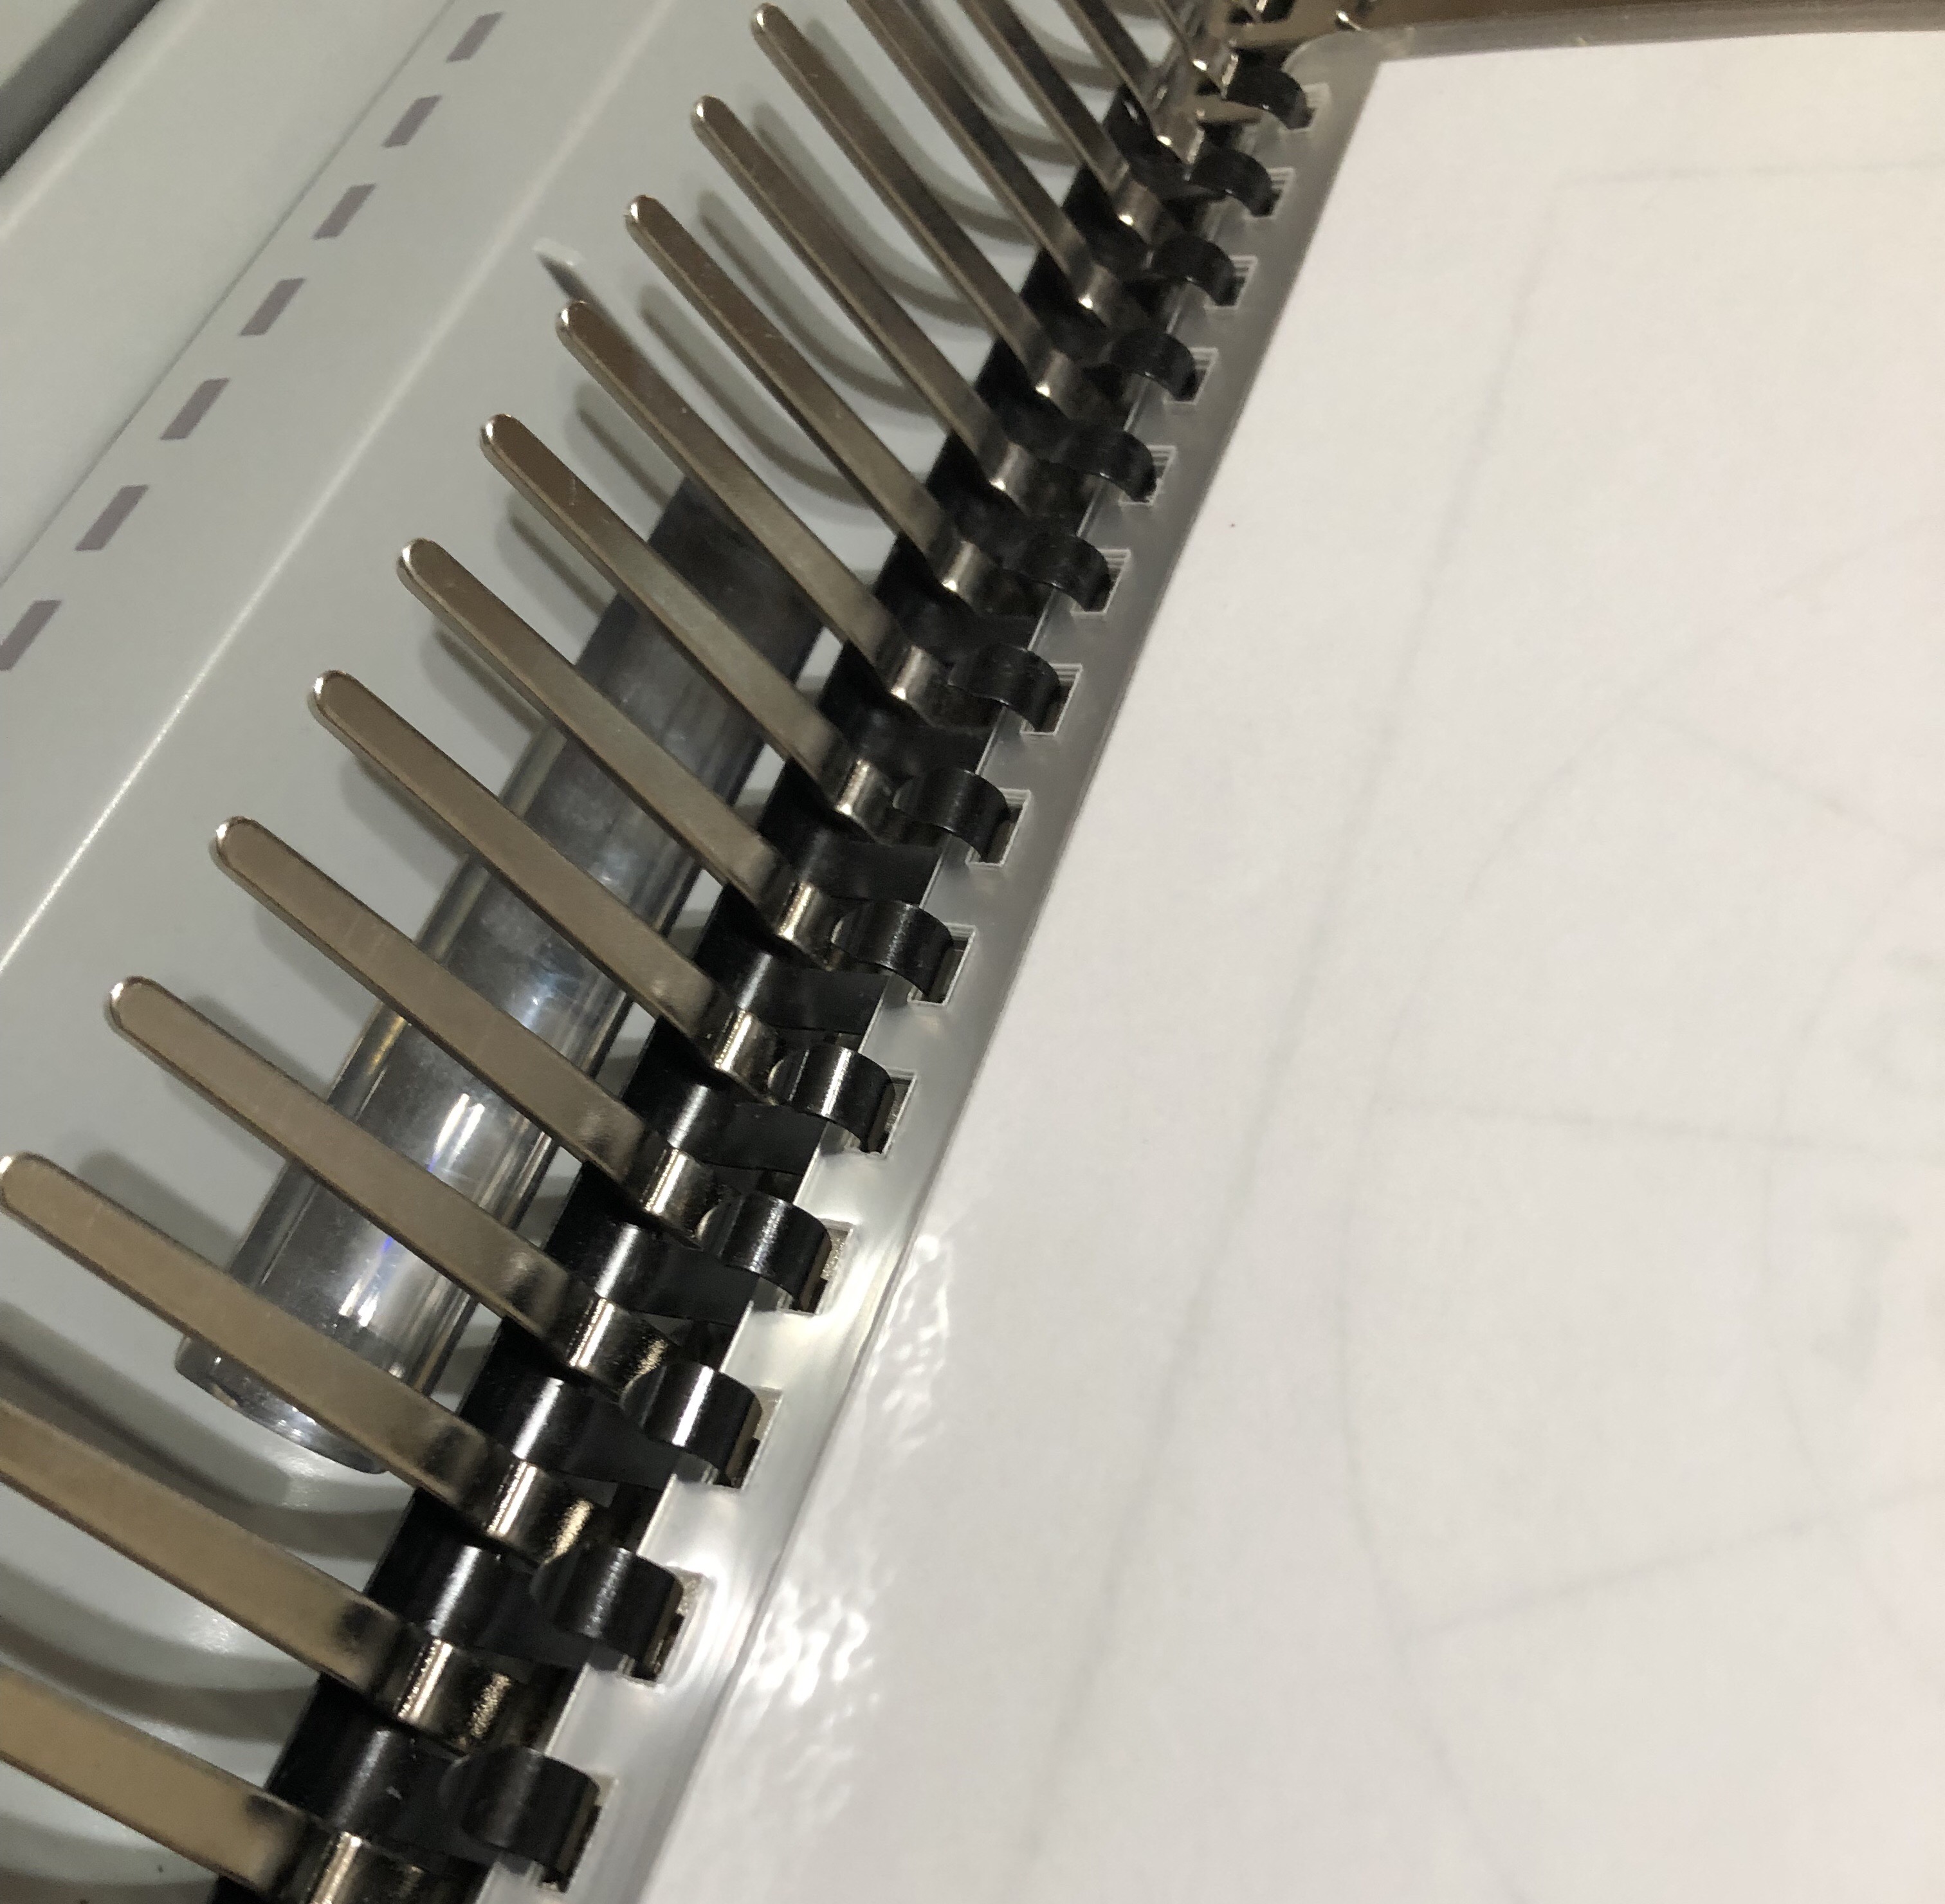
Step 4: Bind your pages together.
You can use just about any binding method for this booklet, although we favor spiral because this will allow the book to be opened and folded back on itself, and it’s a bit more permanent than comb or wire binding. Comb is also a great option, however, because it allows pages to be added or taken out later as your students’ needs change. We used comb binding for our sample project. If you left yourself a little extra plastic on the left margin, you can punch your holes through that to avoid punching through your paper. This will keep your pages safe from water and marker residue.
Step 5: Let your student loose with some dry erase markers and watch their skills improve!
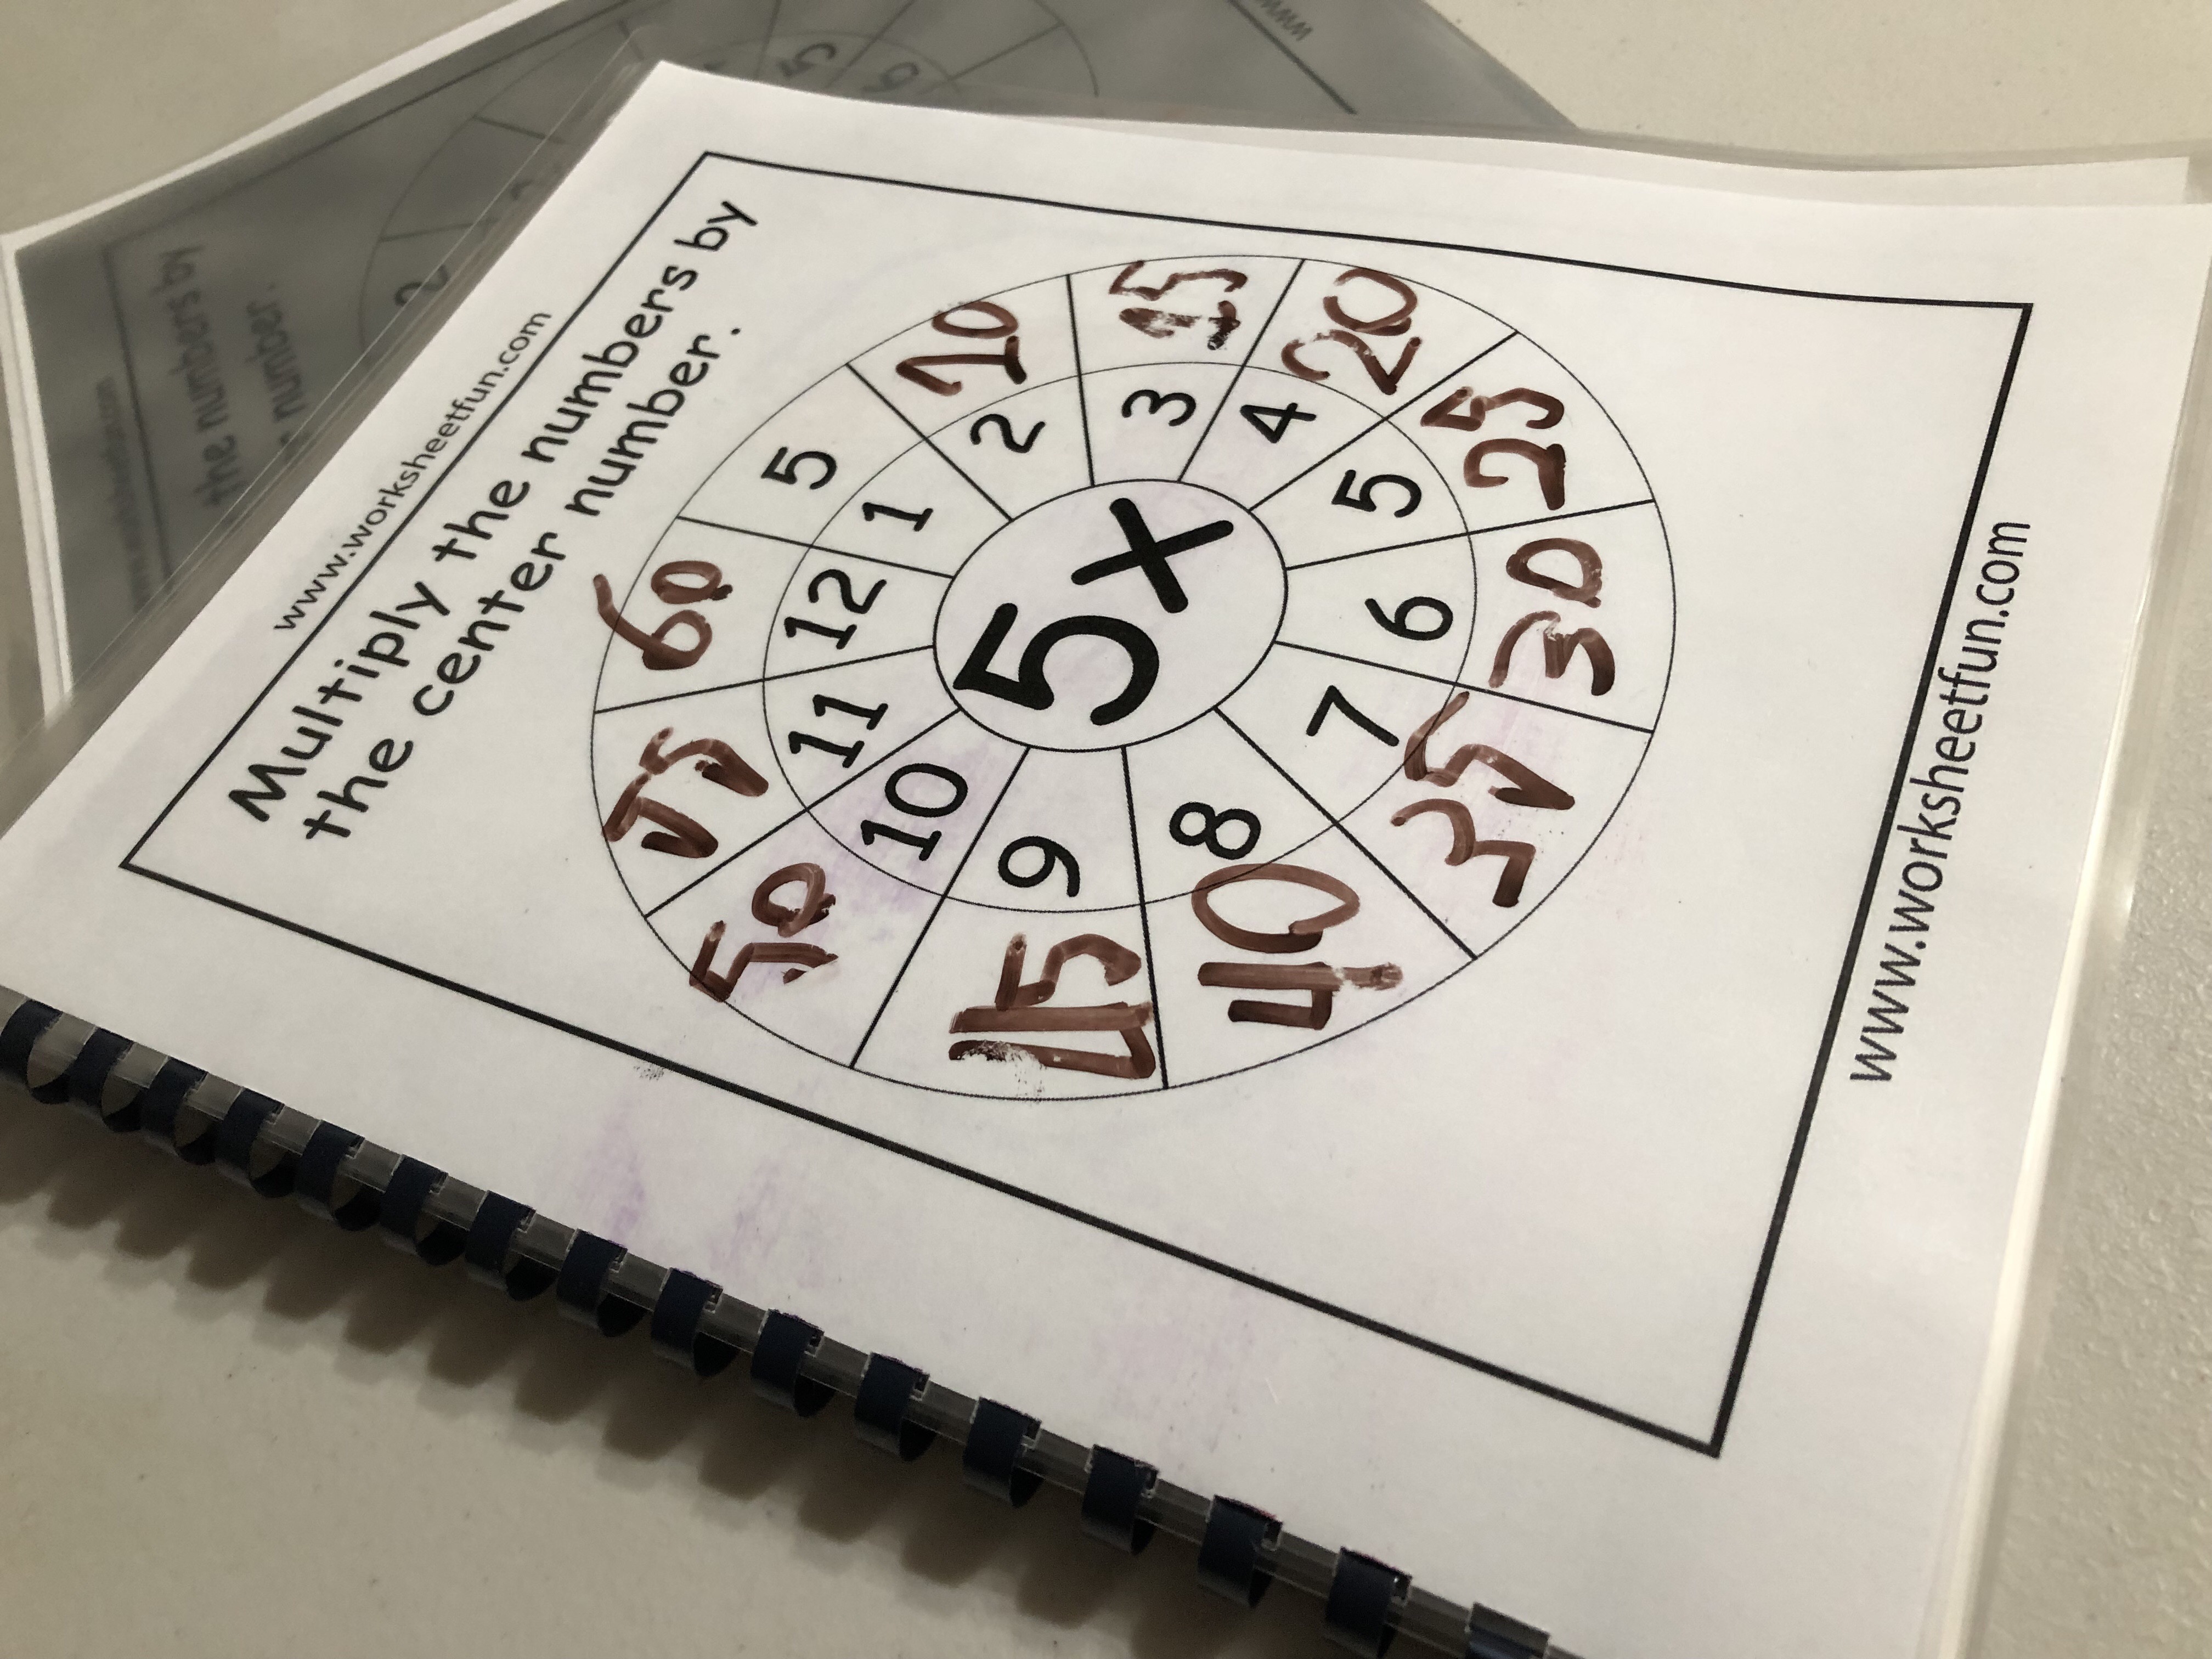
That’s it! In just a few simple steps, you can make up a great tool to help keep your kids’ knowledge fresh or improve mastery of new concepts. And bonus! Since it’s dry erase, we (almost) guarantee that your kids and students will love practicing with this booklet!